
Overview

You all worry about creating characters that are consistent in design? Yes, earlier it was a challenge but no more now. However, Kling AI 2.1 helps solve this problem.
Whether you are an animator, game designer, or artist, maintaining a character’s look and feel throughout different angles, poses, and scenes are crucial.
This overall discussed blog will explain you step-by-step Kling AI 2.1 tutorial to ensure your characters remain consistent no matter what.
Let’s get started!
What is Kling AI 2.1?
Kling AI 2.1 is an advanced tool that makes designing characters easier. It helps creators ensure that the characters they design stay the same in every scene. Whether you are creating a character for animation, a video game, or any other type of media, Kling AI 2.1 helps you maintain the look, size, and shape of your character, no matter the perspective or lighting.
The tool uses intelligent algorithms to track the design’s consistency, which means you can adjust your character’s face, pose, and attire without worrying about them. And the outcome of the character feels real and stays true to its design.
Key Features of Kling AI 2.1
Before jumping into the step-by-step process, it’s important to know what makes Kling AI 2.1 a powerful tool for creating characters:
- Character Consistency: Kling AI ensures that no matter how many times you change your character’s design or pose, it remains consistent. From the angle to the lighting, the character’s core features stay true.
- Customization: The tool offers many customization options for the shape, size, and design of your character. You can adjust everything from facial features to clothing details.
- Instant Feedback: As you make changes, Kling AI provides instant feedback to show you how your design is evolving, giving you real-time suggestions on how to improve.
- High-Quality Rendering: Kling AI offers high-definition rendering so that you can visualize your character in fine detail before moving forward with your project.
- Facial Expressions and Poses: You can create different facial expressions and poses, allowing your character to have a wide range of emotions and actions while staying true to its core design.
Step-by-Step Guide to Create Consistent Characters with Kling AI 2.1
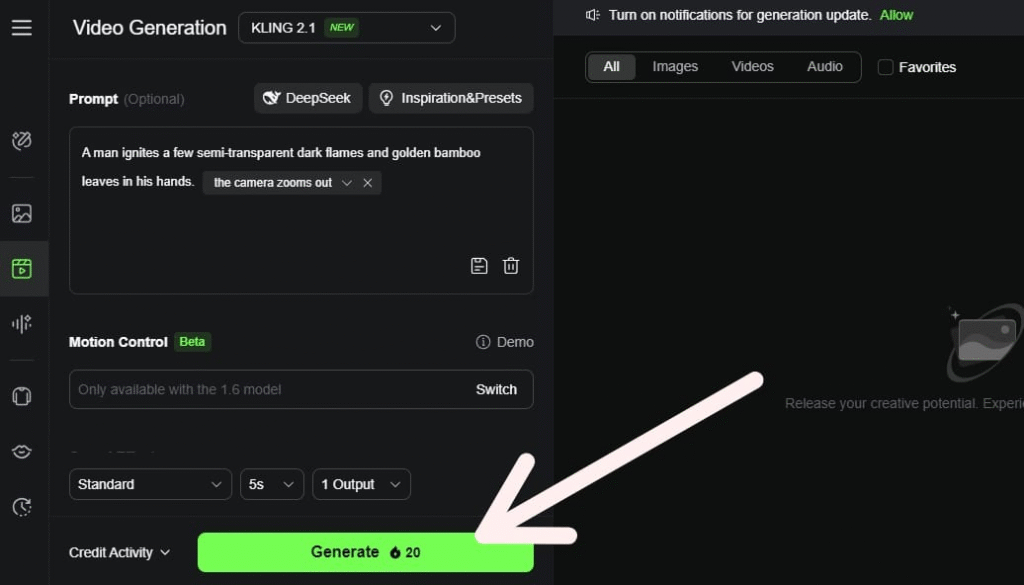
Step 1: Setting Up Kling AI 2.1 Account
The first step is to set up your workspace in Kling AI 2.1. Here’s a guide to get started:
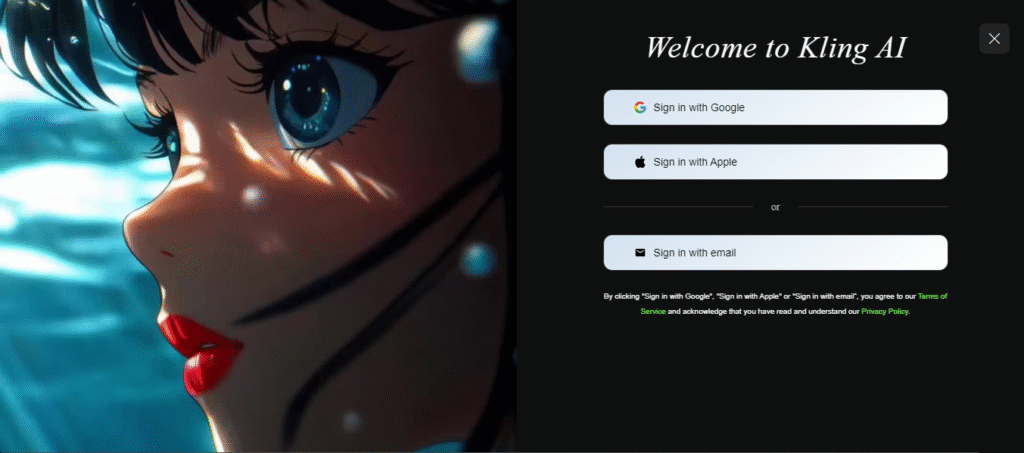
- Sign Up or Log In: If you’re new to Kling AI, you’ll need to create an account. If you already have one, simply log in.
- Choose a Template or Start from Scratch: Kling AI offers a variety of templates to help you get started. You can pick a basic template and modify it, or you can create a character from scratch.
- Customize Your Workspace: Adjust the interface layout to make it easier to work. You can choose the tools and panels that best fit your style and preferences.
Once you’re logged in and set up, you’ll be ready to begin your character design.
Step 2: Creating the Basic Character Design
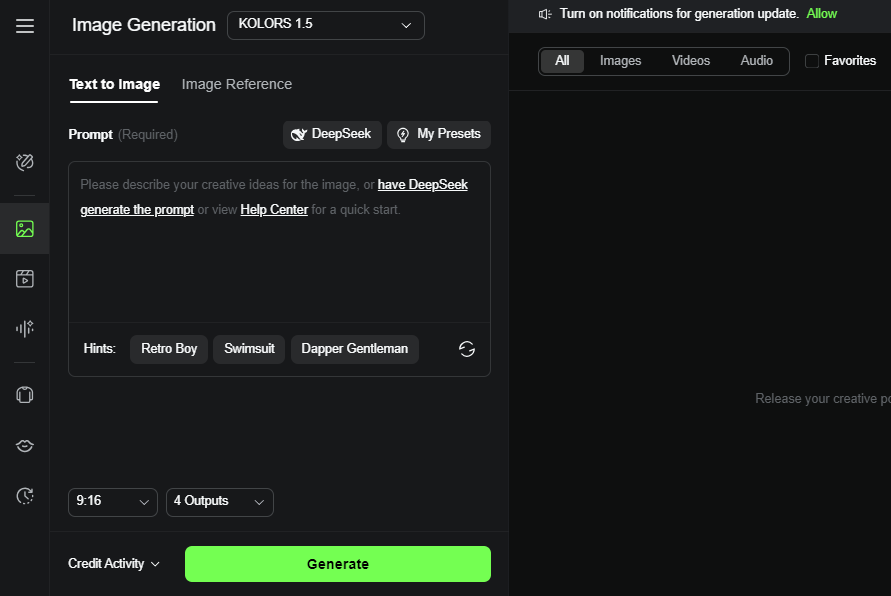
Now it’s time to create the basic look of your character. This is where you’ll focus on the overall shape and appearance of the character before diving into more detailed work.
1. Choose the Character’s Basic Features:
- Start by choosing the character’s gender and body type. These choices will define the general shape of the character.
- You’ll also need to select the face and eye shape, and hair type. This step is crucial to form the base features of your character.
- Don’t worry too much about getting everything perfect at this stage. Just focus on laying a strong base for your character’s look.
2. Adjust Proportions:
- To change your character’s body proportions, use the sliders in Kling AI. This covers the proportions of the limbs, the length of the torso, and the size of the head. Make sure that every element appears balanced to get a clear view of the character – but don’t get too specific at this stage.
3. Refine the Silhouette:
- An important component of your character’s identity is the silhouette. Therefore, ensure that the character can be recognized from all sides and adjust the body shape until it is visually appealing.
Pay attention of the character’s overall outline. Does it have a different appearance that stands out with other designs?
Step 3: Refining Facial Features
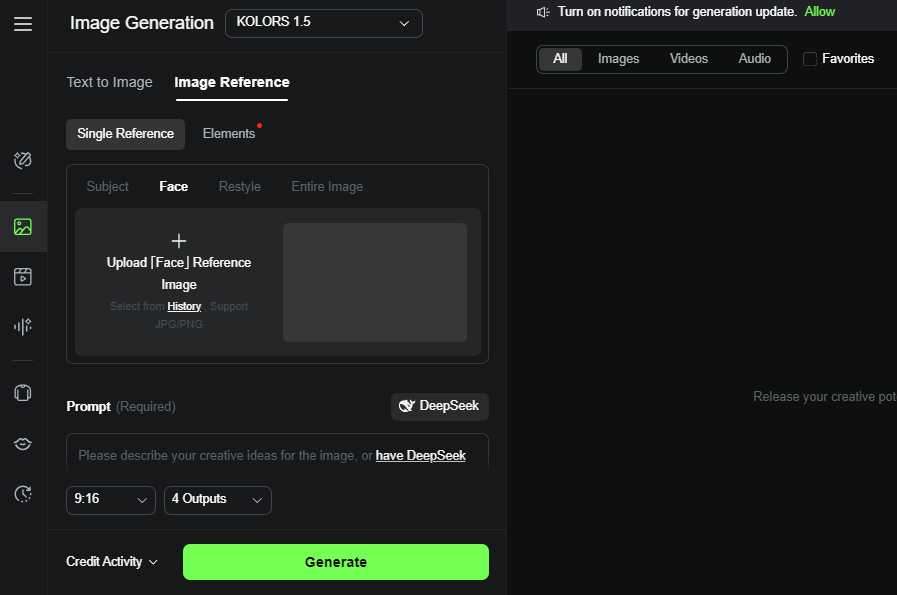
The main attraction of any character is their face. This is where you portray the character’s personality, so it’s critical to make sure the facial features are appealing and consistent.
1. Eye, Nose, and Mouth Adjustments:
- Check and adjust the mouth, nose, and eyes’ dimensions and forms. These characteristics are crucial to the character’s personality and expression.
- To achieve the desired appearance, experiment with various facial features and make minor adjustments using Kling AI’s sliders.
2. Facial Expressions:
- A character’s face should convey a variety of emotions. So test various facial expressions with Kling AI 2.1, including emotions like anger, sad, and joy. The AI will assist you in keeping the character’s overall design balanced as you adjust the expressions.
- To make sure the character appears realistic and fits to its basic design, you can change each expression.
Step 4: Adding Clothing and Accessories

The basic elements are now complete, so it’s time to focus on your character’s style. Your character’s personality and individuality can be enhanced by their clothing and accessories.
1. Designing the Outfit:
- Choose the outfit that your character will wear. Depending on the role of your character, you can choose from options like casual, uniforms, or even fantasy cloths.
- Each piece of clothing can have its colors, textures, and sizes altered. Make sure everything appears natural on your character by adjusting the fit and colour.
2. Adding Accessories:
- Add accessories like bags, hats, jewelry, and glasses. The style of your character is defined by these minor details.
- Be sure that any accessories match the design of the character, ensuring consistency in how they appear across various poses and angles.
3. Consistency in Clothing:
- Once you’ve added all the clothing and accessories, make sure they fit properly with the character’s overall design. Keep adjusting the pieces until they look balanced and integrated.
Step 5: Testing the Character from Different Angles
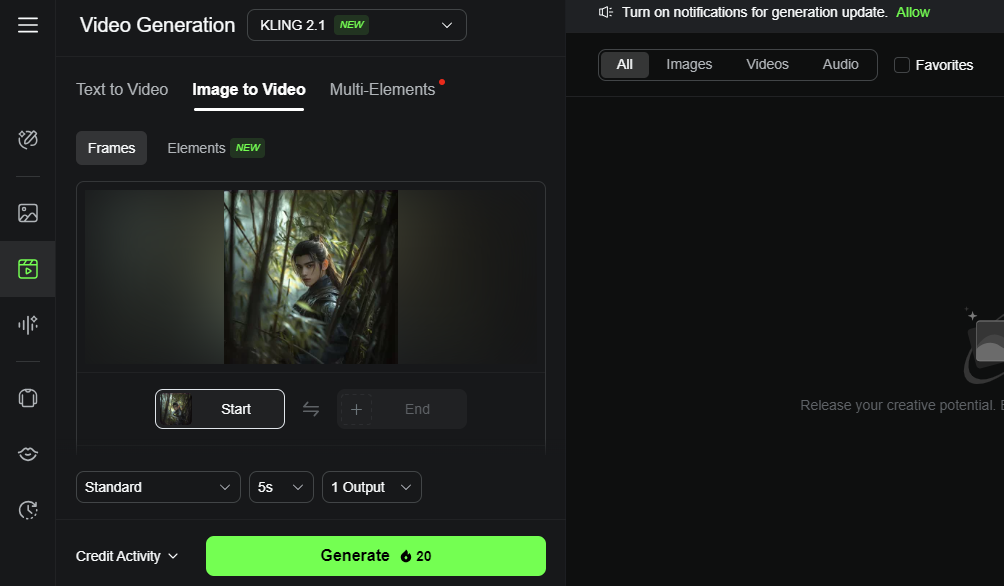
One of the best features of Kling AI 2.1 is its ability to test how your character looks from multiple angles.
1. Rotation and Perspective Tools:
- You can rotate the character to see it from the front, back, side, and ¾ views. This makes the design more consistent from all sides.
- Adjust the character’s position and tweak the features to make sure they hold up no matter how the character is viewed.
2. Lighting and Shadows:
- Change the lighting to observe how your character appears in different environments. This is especially helpful to see how the textures and colors appear in different lighting conditions.
- Make sure the character’s details are visible and consistent in both bright and dark lighting.
3. Check for Consistency:
- Check for design inconsistencies using Kling AI’s feedback feature. Make changes until the character is perfectly aligned if any parts seem odd or out of place.
Step 6: Final Touches and Exporting
Once your character looks perfect, it’s time for the finishing touches.
1. Enhance with Textures and Effects:
Add any finishing touches, like shading, wrinkles in the fabric, or skin textures. These minor details have the power to significantly alter your character’s emotions.
2. Preview and Adjust:
- Check out your character in different settings before exporting. Check how it appears in action sequences or against various backgrounds.
- Make any last-minute changes to ensure that the character is ready for the project.
3. Exporting Your Character:
- Once satisfied with your design, export your character in the desired file format, such as PNG, JPG, or PSD. You can now use the character in your animation, game, or other creative projects.
Conclusion
Kling AI 2.1 is an excellent tool for creating characters that are consistent and detailed. You can make characters that look the same no matter what position or angle they are in thanks to its robust features and intuitive UI. The technology ensures that all elements, including clothing and facial features, stay the same from all perspectives.
By following the above methods, you may create a character that feels real and is prepared for any project. Start making your next iconic character right now with Kling AI 2.1!
Stay updated on the latest in AI safety and innovations. Check out our website for recent reviews of Kling AI and explore expert insights, news, and exclusive updates about more future technologies!


Leave a Reply